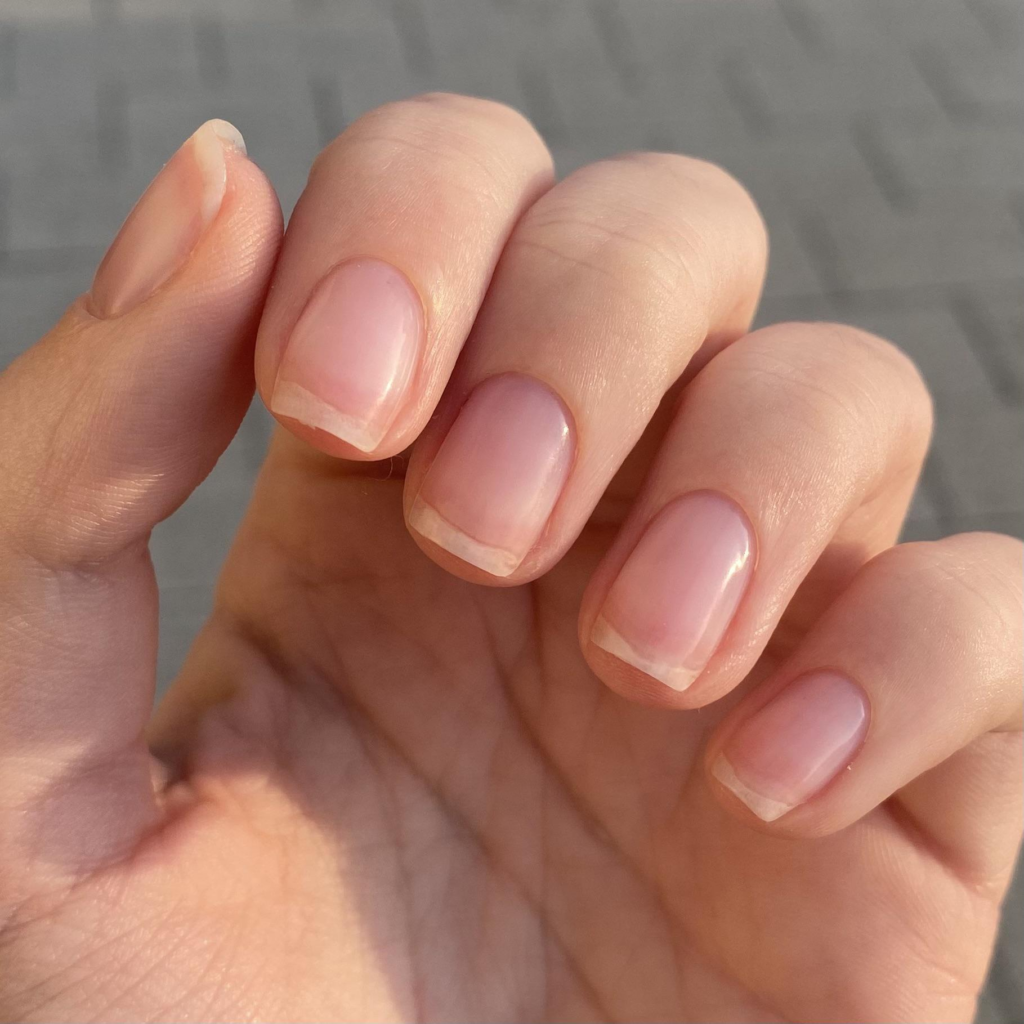
Removing your acrylics doesn’t have to be painful! Let’s walk through proper nail enhancement removal so that together, we can avoid damaged and brittle nails!
A common misconception about acrylics is that the acrylic is what damages your nails. However, it’s not necessarily the acrylic itself that leads to so much nail damage but it’s actually the lack of knowing how to remove them. Ripping your nails off, whether it be using floss, another nail tip, your teeth, or just your fingers to pull them off is so incredibly damaging to the natural nail bed and can even lead to you ripping off your entire nail bed.
It’s also worth noting that DIY nail care fosters a sense of empowerment. You gain control over your beauty routine and the health of your nails. Plus, this knowledge equips you with the ability to maintain your nails effectively between nail appointment visits or when you decide to give your nails a break from enhancements altogether.
Let’s start with what you will need to achieve a healthy acrylic soak off:
- Acetone/ Dissolver:
*Doesn’t need to be this one, but should be 100% Acetone*
- A bowl:
*This is specifically a nail soak off bowl. If you don’t have one at home, you will need to grab a larger bowl and a smaller bowl that would fit into the larger one*
- A Nail File:
*Any grit you have at home will do when filing the acrylic. However, if a nail file is going to touch your natural nail bed you should only be using 240/240 grit*
- A Nail Clipper:
*This is specifically an acrylic nail clipper. If you do not have one at home, you can use a regular nail clipper*
- 3 small towels:
Perfect! Now that you’ve gathered all of your supplies lets begin our soak off:
Step 1:
Begin by clipping your acrylics down shorter. This will help the soak off go quicker because there will be less acrylic actually needed to be soaked.
If you normally already get your nails short, you can usually get away with skipping this step.
Step 2:
After you’ve clipped your nails, go ahead and grab a towel and we’re just going to lay this out wherever we’re going to be soaking our nails just to keep things clean.
Step 3:
Go ahead and grab a nail file and we’re going to begin by filing off the topcoat of our acrylics and any design we might have on top.
This process may take longer depending on how complex your nail design is, just be patient.
Once we have all of our designs filed off, we should only be looking at our base acrylic color.
Step 4:
We will now either grab our soak off bowl or our 2 bowls.
! If you are using the soak off bowl, you will need to pour hot water in the bottom part and acetone in the top part where your fingers will lay !
! If you are using 2 bowls, you will pour hot water into the bigger bowl, only about half way, and add acetone into the smaller one. You will then place the smaller bowl into the larger one.
Step 5:
Place your hands into either the smaller bowl or the top section of the soak off bowl.
We are then going to grab another towel and place it over the bowl, covering the hand we are soaking at the moment.
Step 6:
Soak your hand for about 15 minutes and then pull it out. Your acrylic should now look flaky. We’re going to take our nail file and file off what we can without touching the natural nail bed!
If you still have acrylic left on your nails, just repeat the process until all is gone!
You can then wash your hands, apply lotion, cuticle oil, anything you would like to add moisture back into your hands.
Step 7:
Finally you’re good to clean up and put everything away and you should be looking at some nail beds that still remain healthy!

Mastering the art of removing your nail enhancements at home can not only save you time and money but also protect the integrity of your natural nails. By following the step-by-step process outlined in this guide, you can ensure that your nails remain healthy and strong, avoiding the damage often associated with improper removal techniques. It’s essential to remember that the acrylic itself isn’t the only villain in this scenario, sometimes it can actually be the removal method that can lead to brittle and weakened nails.
Taking the time to gather the right tools—acetone, a soak-off bowl, a nail file, and a clipper—sets the foundation for a safe and effective removal experience. Each step, from clipping down your nails to soaking them properly, plays a crucial role in minimizing damage. By filing off the topcoat and soaking your nails in warm water and acetone, you create the optimal environment for the acrylic to break down without putting undue stress on your natural nail bed.
If you find that the acrylic isn’t coming off easily, don’t rush the process. Patience is key. Repeat the soaking and filing steps as needed, being gentle with your natural nails. Remember that you can always follow up with nourishing treatments like cuticle oil or hand lotion to replenish moisture and promote healthy nail growth afterward.
The right approach to removing acrylic nails not only preserves the health of your natural nails but also elevates your overall nail care routine. So next time you’re ready to remove your enhancements, use this guide as your roadmap to a safe and satisfying nail transition. Embrace the journey of nail care and enjoy the satisfaction of beautiful, healthy nails!